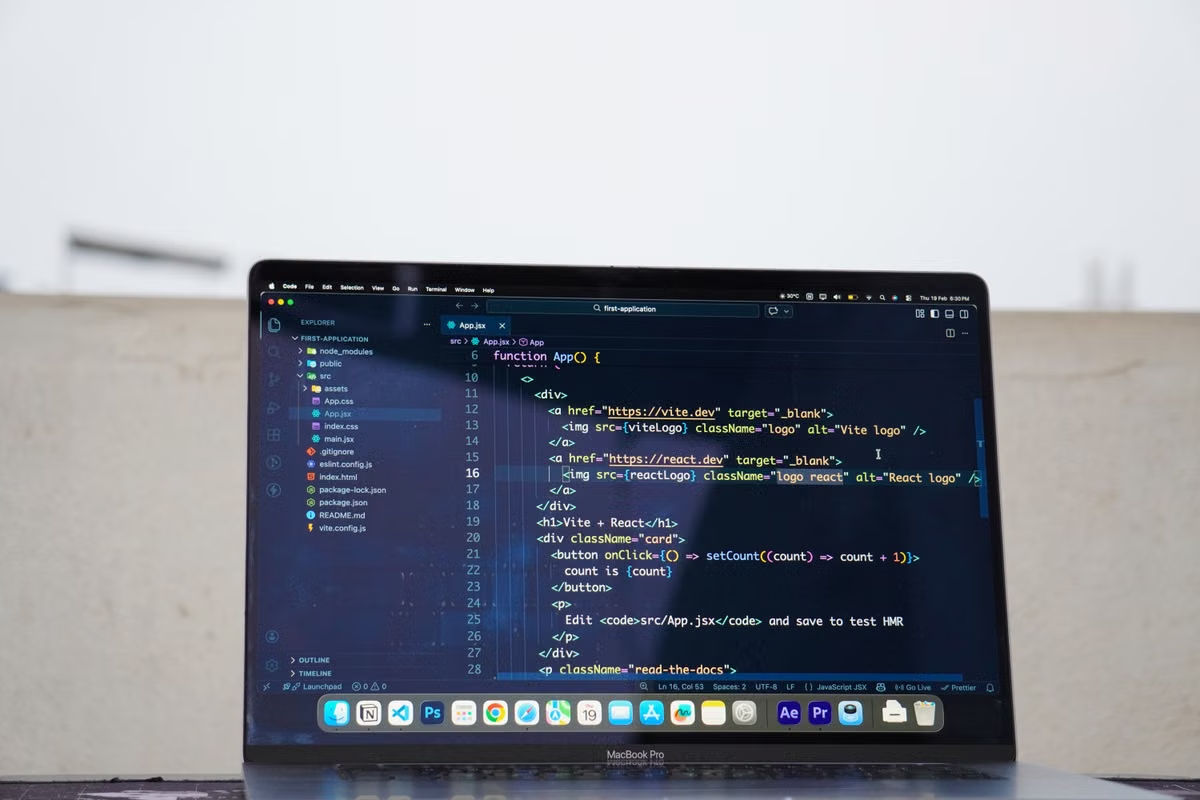
You have written most of your app on Windows, but the release guide suddenly asks for Xcode, an iPhone, certificates, and a Mac.
Fast answer: Windows can handle coding, backend work, and much of a cross-platform project, but iOS device testing, Xcode builds, and the complete App Store submission path still require usable macOS access.
If you are only learning or validating an idea, rent a remote Mac before buying hardware. If you build, test, and release iOS apps frequently, a local Mac becomes easier to justify.
This guide is for Windows users learning Swift, SwiftUI, or Flutter; independent developers who need signing and release access; and product owners deciding whether a team needs to purchase Mac hardware.
Start with the delivery chain
The phrase “develop an iOS app” hides several different jobs. Treating them as one task leads to two expensive mistakes: buying a Mac before you know you need one, or assuming that a Windows-based coding setup can complete the entire release process.
Separate your project into these work areas:
- Application code: Swift, Dart, JavaScript, business logic, screens, state management, and tests that do not require Apple hardware.
- Backend and services: APIs, databases, authentication, webhooks, deployment scripts, and monitoring.
- Apple-platform build: compiling the project against Apple SDKs and producing an iOS build.
- Simulator and device validation: checking behavior in iOS Simulator and on a physical iPhone or iPad.
- Signing and distribution: managing certificates, provisioning, archives, uploads, and App Store Connect release work.
Windows is useful for the first two areas and can support much of the shared code in a cross-platform project. The boundary appears when your workflow depends on Xcode and Apple SDKs. Apple describes Xcode as the tool for developing, testing, and submitting apps for Apple platforms, and its system requirements page identifies the macOS environment required by each Xcode release. See the official Xcode system requirements before choosing a version.
The current planning boundary in this article is Xcode 27 and the iOS 27 SDK. Those names do not mean that Windows has gained a native Xcode workflow. They mean you must check the matching macOS requirements and toolchain before committing to a project.
Keep Windows for the work it already does well
You do not need to abandon Windows just because the final target is iOS. In many projects, Windows remains the most convenient primary workstation.
You can continue to use it for:
- Editing shared application code.
- Writing API clients and backend services.
- Creating UI flows and product prototypes.
- Managing Git branches, issues, documentation, and release notes.
- Running web dashboards, databases, and local service mocks.
- Building Android or web versions where your selected framework supports Windows.
- Using an existing editor, terminal, WSL environment, or remote development workflow.
This approach is particularly reasonable for Flutter projects. The official Flutter iOS setup documentation separates general Flutter development from the Apple-specific setup required to run and deploy an iOS application. The practical implication is simple: write and maintain the shared layer on Windows, then move the Apple-dependent stages to macOS.
That split also protects your budget. You avoid moving your files, editor preferences, terminal habits, and existing automation to a new operating system before you have proved that the project needs daily Mac access.
However, do not confuse “the code runs on Windows” with “the iOS product is ready to ship.” A project can compile in a framework-independent environment while still failing when it meets an Apple SDK, a signing entitlement, a device permission, or an App Store validation rule.
Remove the four Apple-specific blockers
Xcode builds
The first hard boundary is the Apple-platform build itself. Xcode supplies Apple SDKs, build settings, signing integration, simulators, and the tools used to prepare an app for distribution. A Windows editor can display project files, but it does not provide a native Windows installation of Xcode.
This affects both native and cross-platform projects. Swift and SwiftUI projects depend directly on Apple’s toolchain. Flutter, React Native, and similar frameworks can abstract part of the application layer, but they cannot remove the Apple build requirement.
Possible alternative: keep source code on Windows and use a local Mac, a remote Mac, or a hosted build service for the Apple build.
Extra cost or risk: a remote build path can make logs, certificates, cache files, and failed builds harder to inspect. A hosted service may also impose its own configuration rules or access limits. Before selecting one, confirm that you can reproduce a failed build rather than merely download a successful artifact.
iOS Simulator
The iOS Simulator is not just another generic emulator. It belongs to Apple’s development toolchain and is used to inspect layout, permissions, navigation, lifecycle behavior, and device-specific presentation before physical-device testing.
You can use browser tools, design prototypes, and Android emulators on Windows, but these do not reproduce every iOS behavior. A responsive web preview cannot prove that an iOS permission prompt, background transition, keyboard behavior, or platform API works correctly.
Possible alternative: use a remote Mac for simulator sessions, or postpone simulator checks until a shared Mac is available.
Extra cost or risk: interactive remote display adds latency. Fast typing, animation inspection, and repeated simulator resets can be less comfortable over a distant connection. A remote session is still useful for targeted checks, but it should not be treated as identical to a Mac sitting beside you.
Device testing and signing
A real iPhone or iPad introduces signing, developer-mode settings, trust relationships, provisioning, entitlements, and device connection questions. These are not solved simply because the source code was written successfully.
You also need the correct Apple Developer account access. Team roles determine who can manage certificates, identifiers, provisioning, and distribution activities. Review Apple’s overview of App Store Connect account roles before asking a contractor or teammate to perform release work.
Possible alternative: connect the physical device to a Mac locally, or use a remote Mac arrangement that explicitly supports the required device workflow.
Extra cost or risk: remote device access can be the weak point. A Mac may be reachable through a remote desktop session while the iPhone remains physically unavailable, disconnected, or assigned to someone else. If device testing is part of your acceptance process, define who owns the device, where it is located, and how you will recover when pairing fails.
Important: a remote screen connection does not automatically provide remote access to every USB device. Confirm the device and signing workflow before you promise a release date.
App Store submission
App Store delivery is a chain rather than a single upload button. You need an eligible Apple Developer account, the right team permissions, a valid archive, signing assets, release metadata, and an upload route accepted by App Store Connect.
Apple documents the process for uploading builds to App Store Connect, including the distinction between a prepared build and the build that becomes available for testing or submission. Apple also documents the App Store Connect workflow, which is useful when you are dividing responsibilities between a Windows-based product team and a Mac-based release operator.
Possible alternative: prepare code, screenshots, descriptions, and test notes on Windows, then use a Mac for archive and upload operations.
Extra cost or risk: the final release can still stop because the wrong team is selected, a certificate is missing, an identifier does not match, or the uploaded build does not meet the expected version settings. A Mac solves the operating-system dependency, not the account administration problem.
Use a staged Windows and Mac workflow
A mixed setup is often the least disruptive option. You keep your familiar Windows environment and add macOS only where the Apple platform requires it.
Learning stage
If you are learning Swift, SwiftUI, Flutter, or general app architecture, first determine what you are actually studying. For syntax, state management, API calls, layout principles, and backend integration, Windows may be enough for the first part of your work.
You need Mac access earlier if the course requires Xcode projects, iOS Simulator exercises, device deployment, or Apple-specific debugging. A short remote Mac rental can test whether the workflow suits you before you commit to a purchase.
Prototype stage
During prototyping, prioritize fast iteration. Keep product notes, source control, API development, and shared UI work on Windows. Use macOS to check the iOS target at meaningful milestones rather than moving every file after every small change.
This is also the stage where a remote Mac can expose hidden problems. You can test connection quality, login permissions, Xcode availability, simulator responsiveness, certificate handling, and the time required to package a build.
Test stage
When the app reaches physical-device testing, make the ownership model explicit. Decide whether the device stays with you, with a teammate, or at the same location as the Mac. Document the Apple Developer team, signing responsibility, bundle identifier, and recovery procedure.
If you cannot answer those questions, buying a Mac will not by itself make testing reliable. The missing control is process access, not only hardware.
Release stage
For a one-time release or an early validation, reserve Mac access for archive creation, signing checks, upload, and App Store preparation. For a product with frequent releases, automated builds, multiple targets, or several developers, daily access to a controlled Mac becomes more valuable.
Apple’s developer program enrollment information should be reviewed alongside your release plan. Account eligibility and team administration can affect the schedule independently of your operating system.
Choose the access model
The right question is not “Is Mac better than Windows?” It is “How often does this project need Apple-only operations, and how much control must you have when they fail?”
| Option | Best fit | Main advantage | Main limitation | Decision signal |
|---|---|---|---|---|
| Windows only | Learning shared code, backend work, early prototypes | No operating-system migration | Cannot complete the Apple delivery chain alone | Choose it only while Apple-specific work is not yet required |
| Local Mac | Frequent builds, device testing, and release work | Direct control over tools, devices, and files | Requires upfront hardware spending and ongoing ownership | Prefer it when Mac access is part of your normal workday |
| Short-term remote Mac | Learning, proof of concept, one-off signing, or a limited release | Tests the real macOS workflow without immediate hardware purchase | Remote latency and device access need verification | Choose it when demand is temporary or uncertain |
| Long-term remote Mac | Distributed teams, recurring builds, or users who need macOS without local hardware | Centralized access and flexible location | Depends on network quality, permissions, and provider operations | Consider it when you need regular access but not physical ownership |
| Shared team Mac | Small teams with predictable release windows | Spreads hardware use across projects | Scheduling conflicts and unclear responsibility can delay releases | Use it only with a documented booking and signing process |
ZavCloud provides remote Mac access through remote connection methods and a hosted macOS environment. Before selecting a plan, review the remote Mac help resources and verify that the workflow matches your required Xcode, simulator, signing, and device-testing tasks.
Do not make a purchase based only on the monthly label. Compare the total operating burden:
- Hardware purchase and replacement timing.
- Setup time for macOS, Xcode, certificates, and project dependencies.
- Remote access or network requirements.
- Physical iPhone and iPad availability.
- Team account permissions.
- Time spent recovering from failed builds or signing errors.
- Whether the Mac is needed every day or only during release windows.
A short rental may be financially sensible for a student or an independent developer who is still validating the project. A long-running product with daily iOS builds may eventually justify local hardware. A small team may prefer a controlled remote Mac if members work from different locations and do not need to hold the machine physically.
Run the Windows-to-iOS acceptance checklist
Before you call the project “ready for iOS,” check each item rather than relying on a successful Windows build.
- [ ] You have identified which files are shared code and which depend on Apple SDKs.
- [ ] You know the exact Xcode and iOS SDK combination required by the project.
- [ ] You have confirmed that the selected Mac can run that toolchain.
- [ ] You have an Apple Developer account with the required team access.
- [ ] The app identifier, bundle identifier, and target settings match.
- [ ] Signing certificates and provisioning assets are available to the responsible operator.
- [ ] You have a documented route for installing the build on a real iPhone or iPad.
- [ ] You have tested permissions, notifications, deep links, background behavior, and device rotation on iOS.
- [ ] You can create an archive from the intended source branch.
- [ ] You know who can upload the build to App Store Connect.
- [ ] You can inspect upload errors and retry without depending on one person’s undocumented setup.
- [ ] You have decided whether Mac access is needed for one release, a short project phase, or ongoing development.
If most boxes are unchecked, you do not yet need to buy a Mac immediately. You need to validate the missing workflow first. If the boxes are checked and the project requires repeated device tests or daily builds, local ownership becomes easier to defend.
Frequently asked questions
Can you build an iPhone app without owning a Mac?
Yes, you can write application code, build backend services, design screens, and manage a cross-platform project on Windows. You still need access to macOS for Apple-platform builds, iOS Simulator, device signing, and some submission tasks. A remote Mac can cover those stages without requiring an immediate hardware purchase, especially while you are learning or validating an idea.
Is there a supported way to install Xcode on Windows?
Xcode is Apple’s development tool for Apple platforms and is distributed for macOS, not as a native Windows application. A Windows editor, WSL environment, or cross-platform framework can support earlier work, but none of those turns Windows into an Xcode host. You need a Mac you control locally or remotely when the project reaches Xcode-dependent work.
Does Flutter development on Windows still need a Mac?
Flutter lets you develop much of the shared application code on Windows, but the iOS workflow still depends on Apple tooling. The official Flutter setup guidance requires a Mac with Xcode for iOS deployment tasks. You can therefore keep Windows as your main editor and use a local or remote Mac for iOS builds, testing, signing, and release preparation.
Which release step requires macOS before an app reaches the App Store?
The exact boundary depends on your framework and automation setup, but the Apple build and signing chain remains the important dependency. You need an Apple-platform build, valid signing assets, and an upload path accepted by App Store Connect. Windows can prepare source code and release metadata, yet it cannot independently replace the macOS and Apple tooling required by the complete pipeline.
Can I rent a Mac only for signing and packaging?
Yes, that can be a sensible short-term arrangement when your Windows workstation handles daily coding and the Mac is reserved for Apple-specific work. Confirm that you can install or use the required Xcode version, access your signing files securely, connect to the Mac reliably, and complete device testing. For frequent builds or team collaboration, a longer rental period may be easier to manage.
If your current setup is Windows plus occasional access to a Mac, the main weaknesses are predictable: Windows cannot host Xcode natively, a shared physical Mac can be unavailable when a signing issue appears, and buying hardware creates an upfront commitment before you know how often the project will need it. Renting a Mac from ZavCloud gives you a way to test the real macOS workflow first, reserve Apple-specific work for the stages that need it, and decide later whether permanent hardware ownership is justified. Start with the available remote Mac options when your immediate need is a test environment, a signing session, or a controlled release rather than a full-time local machine.
ZavCloud Developer Infrastructure
Start Your iOS Workflow Without Buying a Mac
Use ZavCloud to access a remote Mac for Xcode builds, signing, testing, and release preparation.
Connect to your cloud Mac from Windows and keep your existing coding workflow.